HTML Complete Notes
HTML (Hypertext Markup Language) is the language by which we create the structure of the website and it is displayed in the web browser.
HTML Introduction
Hello developer, today we are going to study about HTML. What is HTML, what happens with it, how does it run, everything is going to be seen in the notes of this HTML. We will see only those chapters which are important. With this, you can learn very good coding in less time, so let's understand about HTML step by step.
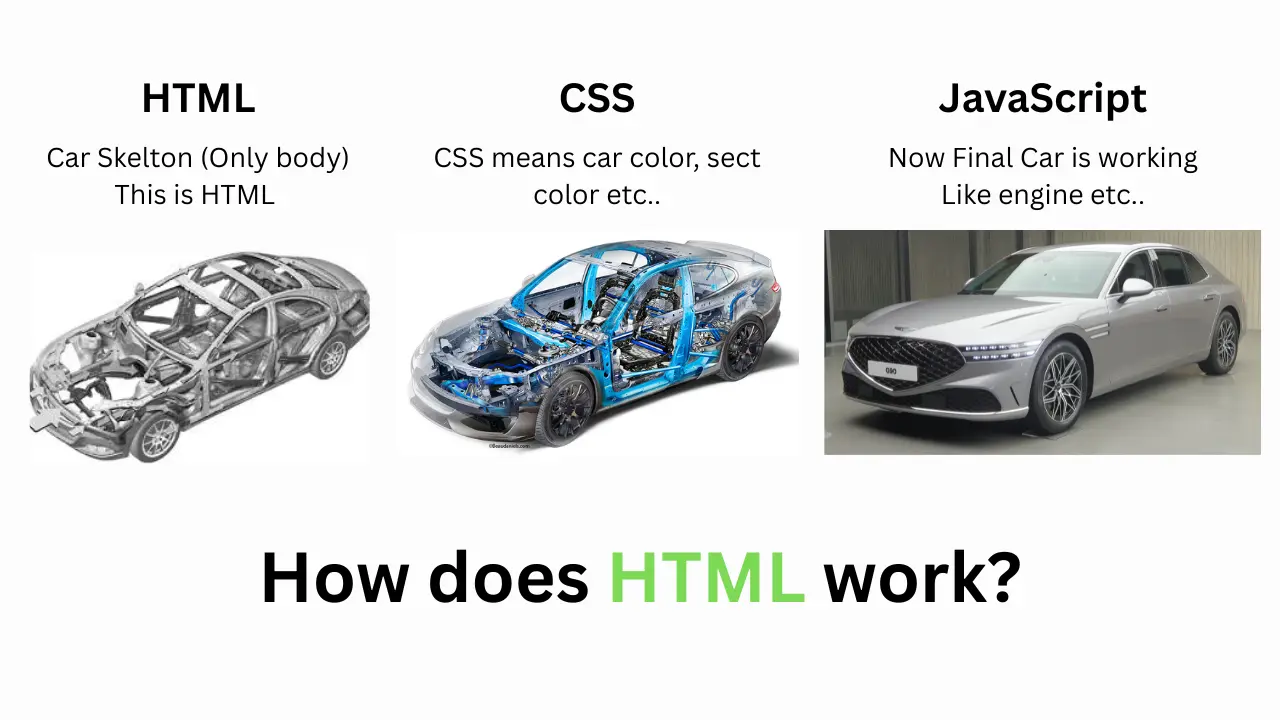
HTML is a markup language whose job is to create the structure of a website. The structure made from HTML does not look good. To make it good we have to use CSS. HTML runs our web pages in the browser. You must have seen many websites, some are animated, some are simple, all of them are made from HTML. You cannot make a website without HTML. HTML contributes a lot in making a website. You can see the demo given below to see how HTML works.

Basic HTML Document Structure
This is the basic emat code of HTML which is an important part of HTML code which is very important for you to understand. If this code displays your website in any browser, then let's understand its emat code.
<!DOCTYPE html>: Its work is in the HTML embed code, through which element the browser comes to know that this code is HTML code, the meaning of coding language is to make the computer understand, which this element does.<html lang="en">: By looking at this element, you must have realized that its work is to set the language, i.e. what will be the language of your website. Language helps a lot in correct SEO of the website. You can edit the language through this element.<head>: This element is small but very important. Its work is that if you want to use any font from a third party website, you can put its link in this head section. It also has a closing tag<head>. In this you can put meta link, website title etc. and you also have to add the link of CSS file inside it.<meta>: Meta link is very important for our website. Meta link is of different colors. Some are used for SEO optimization and some for keeping the code correct. We will see this in the notes later.<body>: After this comes the body tag which you can guess by its name itself is the body of the code. When you write the code to make the actual website, you have to write that code between the open and closing tag of the body tag, only then the code works.
Let us see the demo of the code once to see how the code works easily.
<!DOCTYPE html>
<html lang="en">
<head>
    <meta charset="UTF-8">
    <meta name="viewport" content="width=device-width, initial-scale=1.0">
    <title>Document Title</title>
</head>
<body>
    <h1>this is my first HTML Code..</h1>
    <p>Lorem ipsum dolor sit amet consectetur adipisicing elit. Et, iure!.</p>
</body>
</html>How to run HTML first code
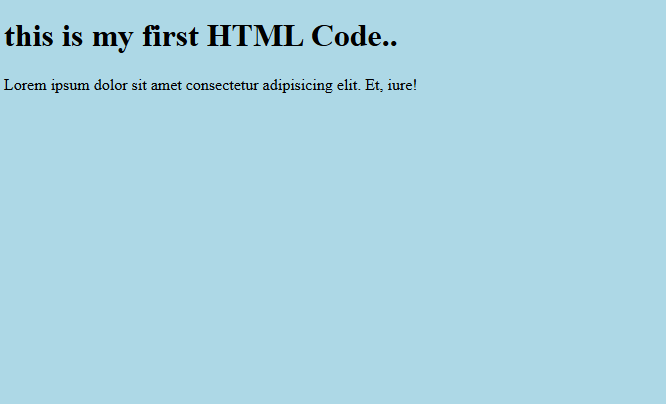
When you run the above demo code in your code editor, you will see an output like this. This will be your first code, but before that you will need a code editor as well as how the file is set. It is important for you to know everything, so let's know how it all happens.
How to Install Vs Code:
We are going to use Visual Studio Code for coding, it is a very good tool for beginners and its UI is very easy and smooth.
- To download the code editor in your system, first of all you have to go to the website given below.
- https://code.visualstudio.com
- After visiting the website, you will find different types of code editors, that is, you can download the code editor as per your requirement.
- After downloading, you have to run it in your system which is a very easy process. After this, you have to open it and in it you have to create the index.html file.
- After doing all this, you have to paste the given html code in your file, then you have to run your code from the run button on the top right side of the code editor.

What is HTML Forms
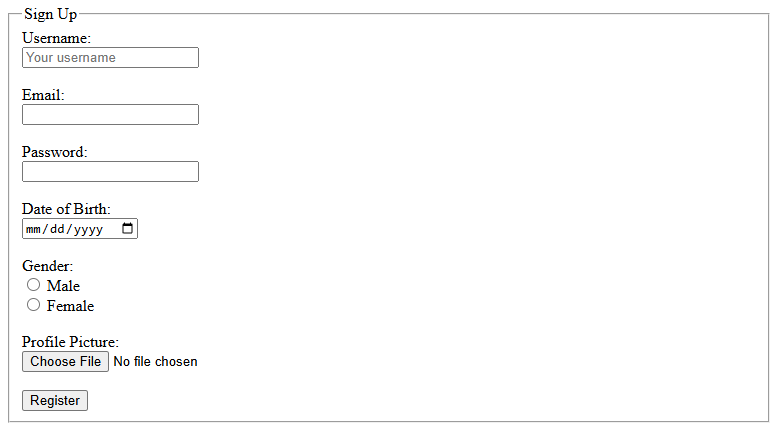
It is very important to have a form in any website. This means that your website should be interactive and have a good looking form. Connecting the user with the admin is important. If a user comes to your website, he can contact you. That is why a form is created. So let's see how a form is made.
Here is important attribute
action:
This means that the data sent by the user will go to which URL or server.
<form action="/submit-page" method="POST"> </form>method:
This attribute means the way in which the data will be sent. You can know the method by its name.
<form action="/submit-page" method="POST"> </form>text(name):
This is a general element which can be a name, username, or just any normal text.r
<input type="text" name="username">placeholder:
With this we can give hints to the user like in some forms we add demo name, email.
<input type="text" placeholder="Enter your username">required:
Meaning it is mandatory to add any detail in the form like.
<input type="text" required>value:
sets the default value.
<button name="subject" type="submit" value="fav_HTML">HTML </button>Here is Complete HTML Form Code

<form action="/submit" method="POST" enctype="multipart/form-data">
  <fieldset>
    <legend>Sign Up</legend>

    <label for="username">Username:</label><br>
    <input type="text" id="username" name="username" required placeholder="Your username"><br><br>

    <label for="email">Email:</label><br>
    <input type="email" id="email" name="email" required><br><br>

    <label for="password">Password:</label><br>
    <input type="password" id="password" name="password" required minlength="6"><br><br>

    <label for="dob">Date of Birth:</label><br>
    <input type="date" id="dob" name="dob"><br><br>

    <label>Gender:</label><br>
    <input type="radio" id="male" name="gender" value="male">
    <label for="male">Male</label><br>
    <input type="radio" id="female" name="gender" value="female">
    <label for="female">Female</label><br><br>

    <label for="profile">Profile Picture:</label><br>
    <input type="file" id="profile" name="profile" accept="image/*"><br><br>

    <button type="submit">Register</button>
  </fieldset>
</form>